Do you want to build a garden? (Part 2)

My predictions have come true. I’m spending so much time on garden stuff, I can’t even find time to blog about garden stuff!

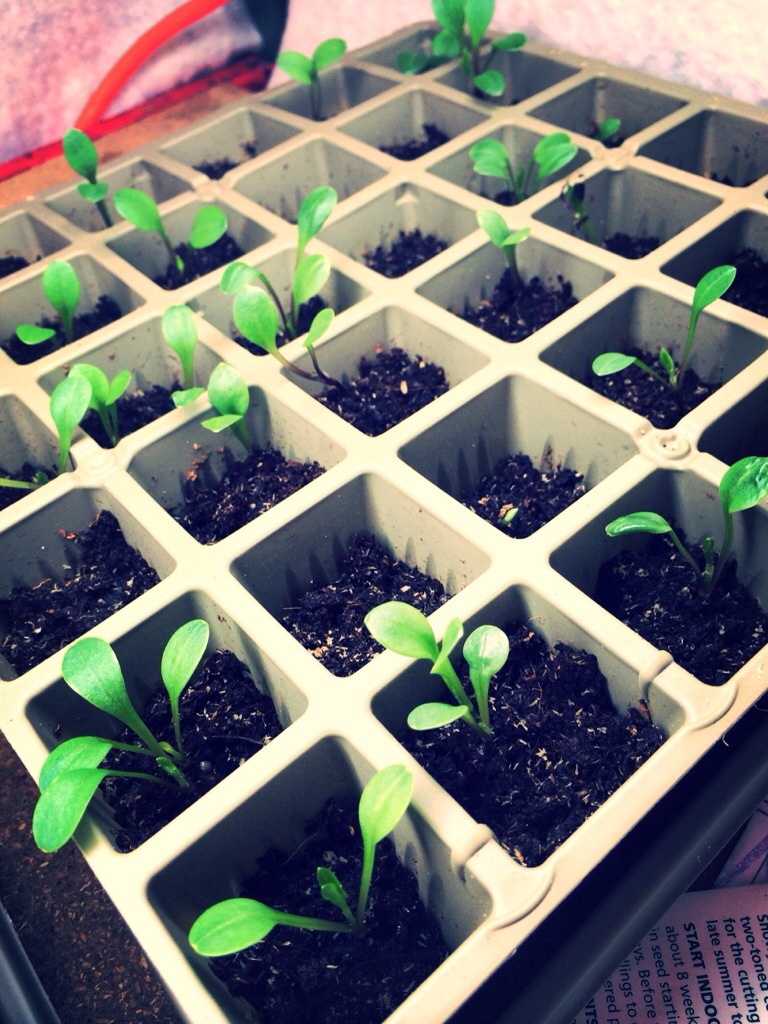
In good news though, my little seeds have mostly all sprouted so I’m spending my time watering and monitoring temperature!

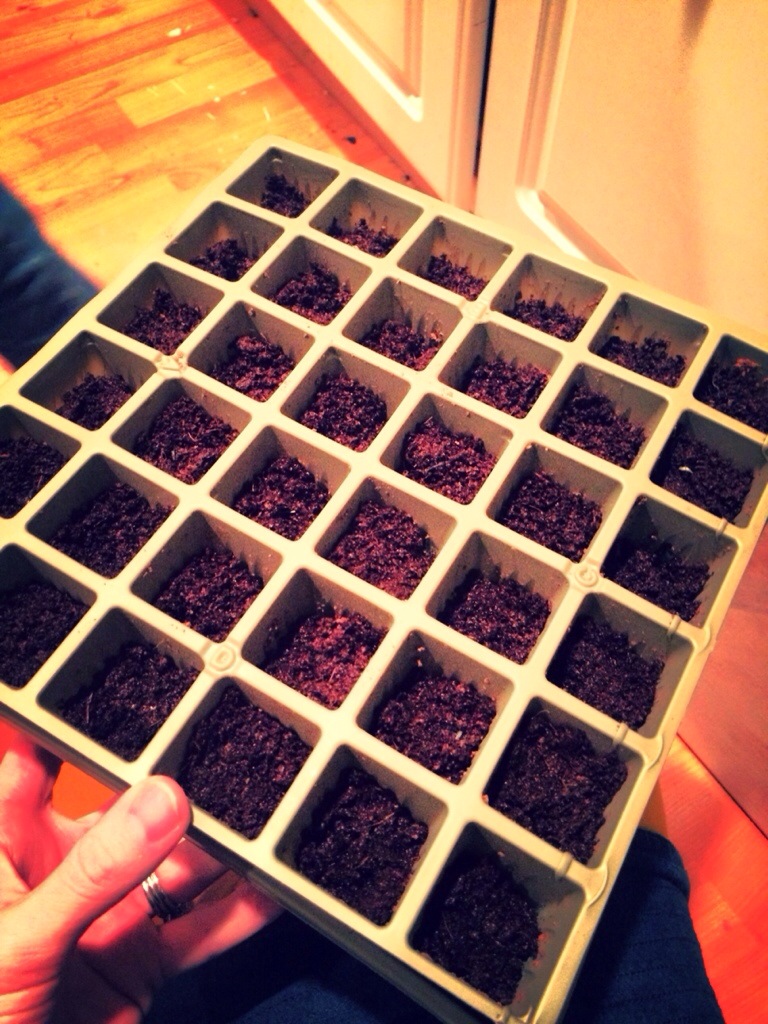
When I last left you in Part 1, I was just getting ready to make a couple hundred little newspaper pots. I successfully made my little pots and this time used a brick of seed starting material and added water to that. It was SO MUCH easier and I got about half of a 5 gallon bucket of material with about 2 minutes of work. Once again, I used a play kitchen measuring cup to put about 1/4 cup of soil in each little newspaper pot. I then grouped all the pots of each variety into 1/2 steam trays. I got a pack of like 50 at Costco for about $4.50 and we use them for so many things when I need a disposable pan! I use them for BBQ’s and taking burgers and dogs off the grill. I use them to collect glitter and mess in kids crafts. I even helped Sweet Girl learn to tie dye in one recently!

If you recall, I started with all of my little seeds in my craft room.

20140319-104358.jpg

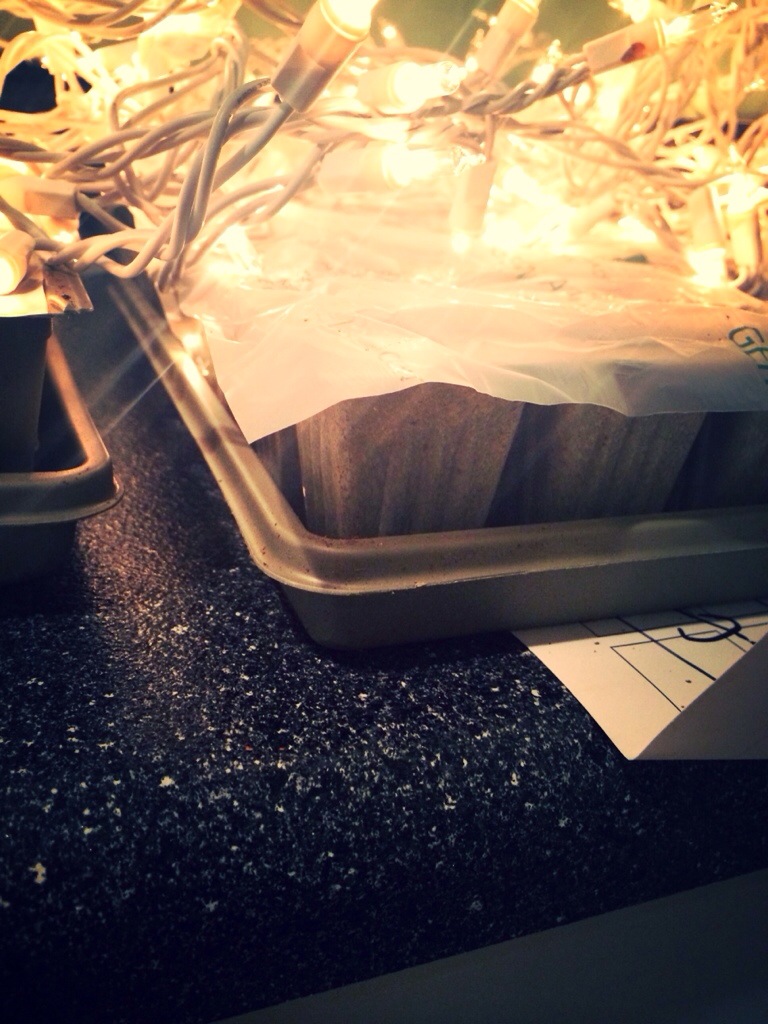
Eventually, he made me a shelf in the garage and outfitted me with a 8′ florescent light. We put the strongest florescent bulbs in it to simulate sunlight. The bulbs put off very little heat compared to an incandescent bulb, so I took some batting scraps from a recent quilt project and wrapped the shelf to provide some insulation. I was still a little worried about the heat, but if you put your hand into the box, it’s about 10-15 degrees warmer than the ambient air. Since it’s our downstairs garage and it’s closed in on 3 sides by the ground, it was maintaining about 50-55 degrees so keeping the seedlings at 60-70 degrees is a little cool, but should be fine. If you didn’t know and just walked into the garage, you might be a little confused as to what the heck the glowing shelf is!

20140322-100005.jpg

I had some sheets of 12×12 thin steel so I lined them up across the back of the shelf. I think this helps reflect the light and also the heat.

20140322-100013.jpg


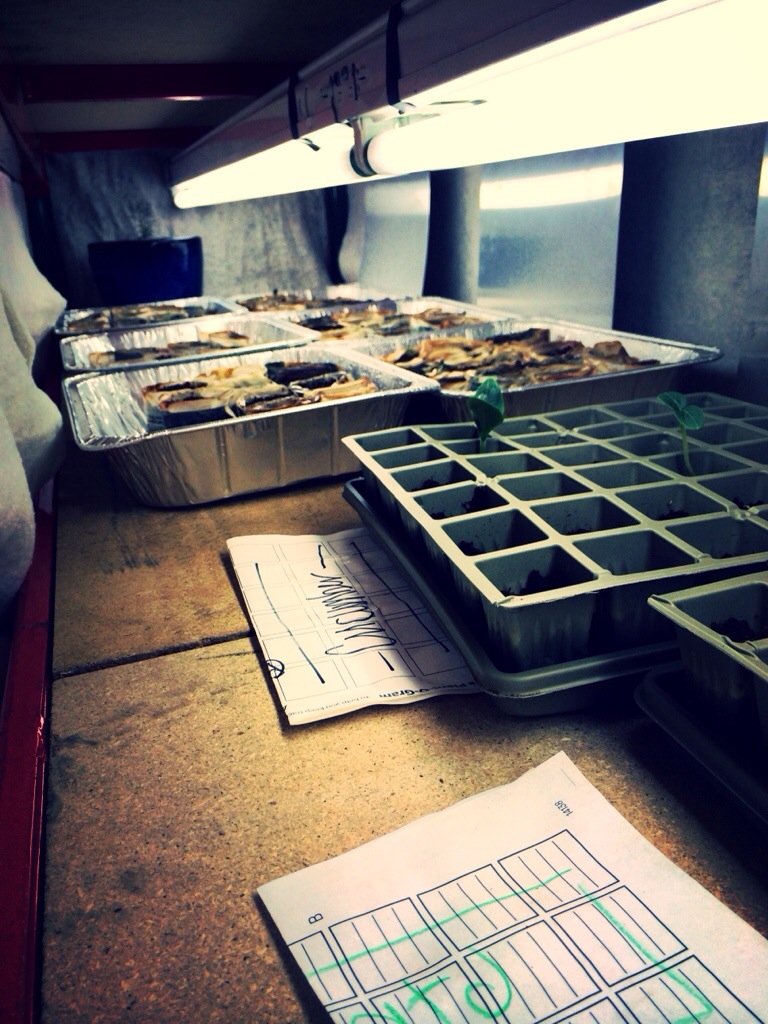
I was super worried about heat loss so for access I cut these slits into my batting. I then covered the whole slitted section with another square piece of batting. So, to access, you fold up the “door” and then fold back the slitted access.


20140322-100019.jpg


CORN! These guys have shot up about an inch a day and are now at 4″!  The other benefit of using the newspaper pots is there is no transplanting involved and I can just plant the pot as is. I still didn’t risk planting seeds like carrots who are super picky about getting their roots disturbed. I’ll direct sow those. And I’ll direct sow the herbs since I want them to fill up some areas and I don’t care as much about them. I might plant some herbs in newspaper pots too so if anyone local wants mint or oregeno or cilantro or whatever else I might have bought let me know and I’ll put your name on a pot!

20140322-100026.jpg

20140322-100033.jpg

20140322-100048.jpg


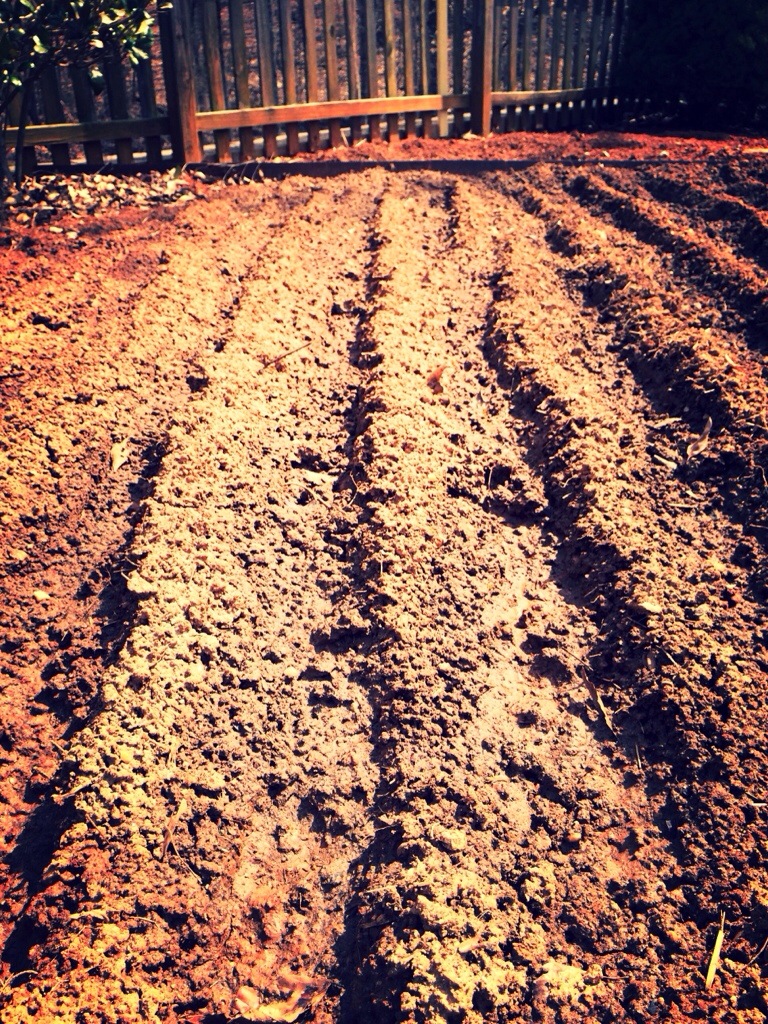
In the meantime, we got a nice afternoon and he worked on the picket fence. We still need to repair one whole section that is missing and then add in the rodent netting. But this is our garden. The pallets are being stored for one brother and both brothers helped me till. It’s on the SE side of the house and gets spring sun about 10 hours a day. I figure in summer, it’ll get 11-12 with some morning and late afternoon shadowing because of the fence.

20140324-150406.jpg20140324-150413.jpg20140324-150359.jpg20140324-150352.jpg

Water access in the garden!

20140324-150421.jpg


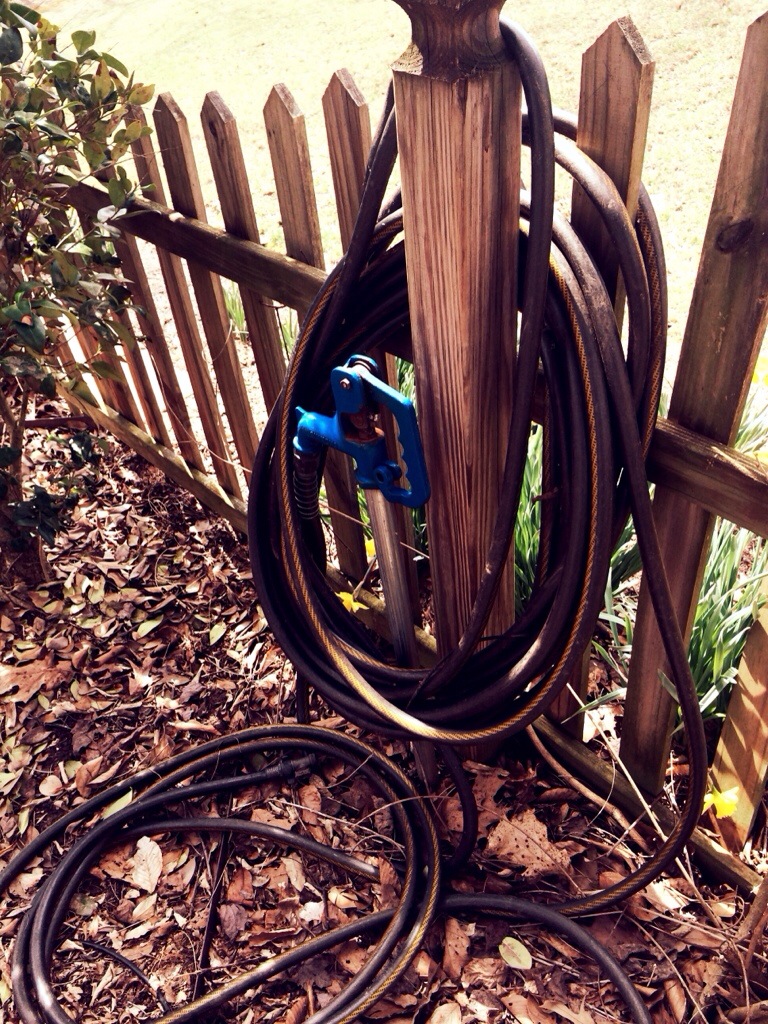
Electrical access in the garden!

20140324-150435.jpg

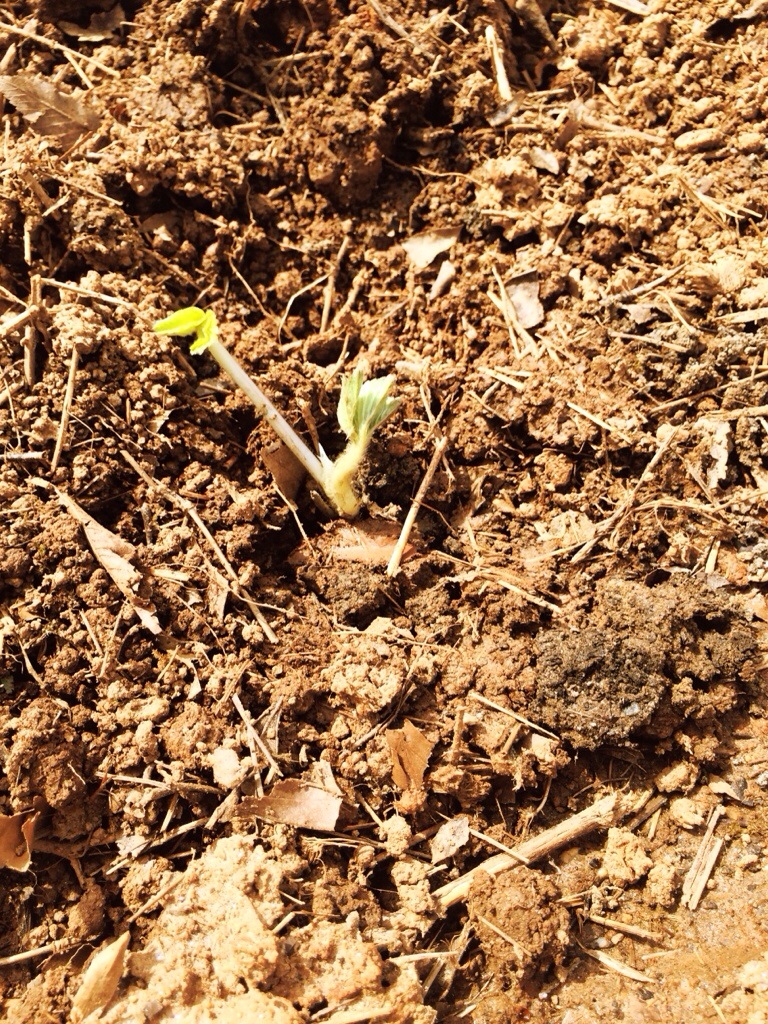
The only thing in the ground right now is the strawberries. I made sure not to bury the root head part, but I still need to mulch. Google tells me I can use straw, but I am thinking I might try to find some rubber mulch. Not sure if I will have things leaking into the soil with the rubber? Do I have any other options for keeping the berries off the ground? I know strawberry farms use plastic, but since these little guys aren’t established, I want to leave some room for some little runners to come up.

20140324-150427.jpg

Next on the schedule: Get the blueberries and raspberries in the ground! I’ve had them for about 11 days and I know they are getting to the end of having their roots wrapped in paper towels and misted. But, since they will be planted along the fence, I need the rodent protection up first so we don’t disturb the plants while we attach it.

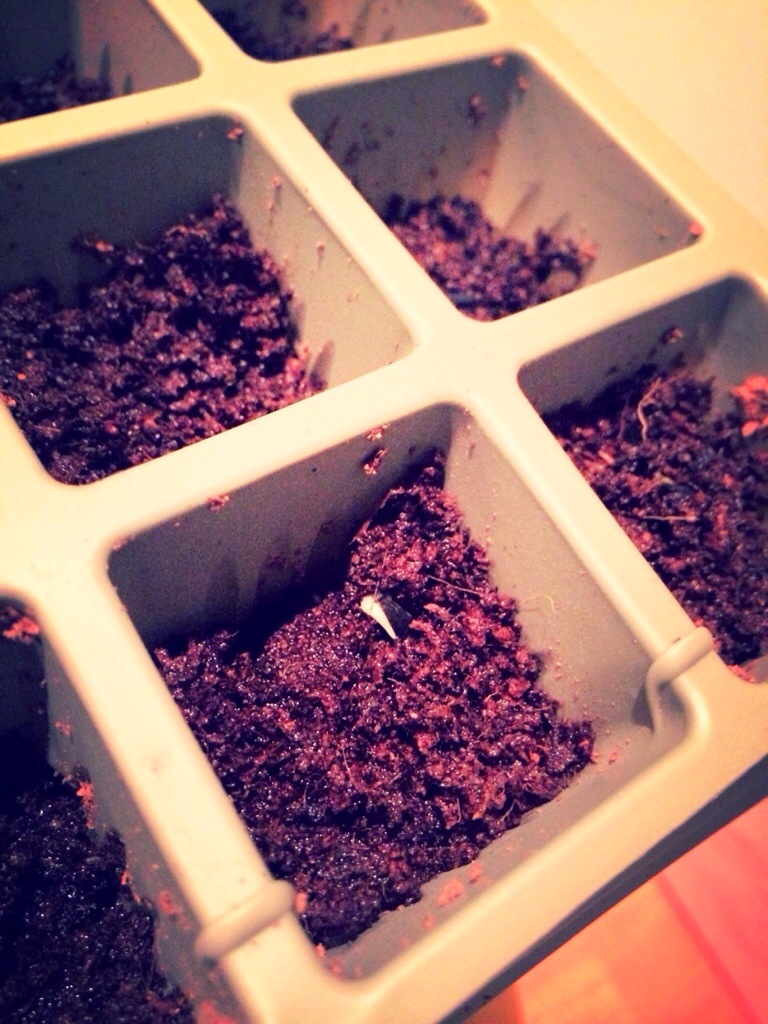
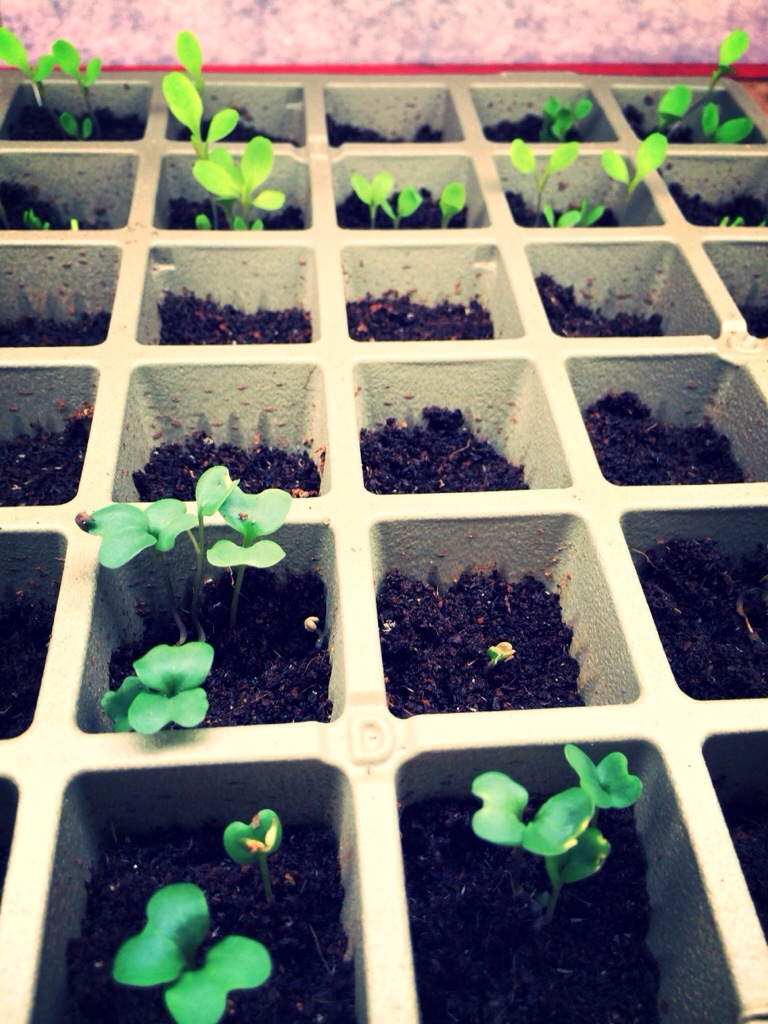
I’m also watering my little seedlings every day. They are taking up much more water than I expected. I’m not sure if it’s just the warm box I put them in, or if it’s normal, but the one time I skipped a watering night, the next night, the soil was almost completely dry on top. In both my systems I have an excellent way of making sure they aren’t over watered. In the little trays, the top tray lifts off and there is a water reservoir on the bottom. It’s been dry every night in all trays. In the newspaper trays, clearly, the water that isn’t needed will leave through the bottom of the pot. Since I have no pooling water and the newspaper is drying out up top, the watering nightly is a necessity as well.

Community advice – when and how do I thin these seedlings? i.e. I planted the broccoli seeds in a little row and some cells have 4-5 little shoots. I would assume I should remove 3-4 of them and go for one healthy plant per cell? Do I try to pull them or do I clip them? Do I need to wait until they get bigger? Do I need to worry about thinning the dahlia’s? I want them to grow big and bushy – will thinning them now mean they get bigger later or should I let them all have at it? I don’t know if they are stealing resources from each other right now or not!

I think our last frost just passed, but I’m likely to wait until mid-april to plant my seedlings and herbs just in case!

Advertisement

Do you want to build a garden? (Part 1)

One of the things we loved about our house when we bought it last April is that it has a fantastic garden. It’s about 30×30 and fenced in with a little picket fence. There is an arbor over the entrance that has vines with pretty flowers that welcome you in almost like a secret garden. In the middle of the big square is a fountain. There are paths made of stamped concrete that make an X into the four corners. It’s amazing. In theory.

When we moved in, the weeds were just starting to overtake it. Since we had so many other pressing issues with the house, we just let it go. So this year, after the poor garden suffered the last 3 years in neglect, we decided to bring it back to glory.

He started planning to repair the fence. I started shopping at Burpee. He started planning how to keep the bunnies out. I started googling “basement green house”. He borrowed a tiller. I bought cute gardening gloves. You see how it goes.

I determined there are 7 steps to preparing a garden.

1. Allocate your space

2. Decide what to plant

3. Prepare your space

4. Decide on seeds or plants

5. Sow seeds or acquire plants

6. Tend the garden

7. Harvest the garden

Since my attention span is usually only about 4 steps, I was already in trouble.

STEP ONE: Yippee! Thanks previous homeowners who built this garden! And because my blogging skills are awesome I have no before and after pics of the space right now. But I do have a cute picture of Happy watering the daffodils last weekend! The garden is off to the right of the picture. Then it iced here 3 days later. Not sure if those flowers are still alive. Let’s just use our imagination that I do have a designated garden space. 20140319-105616.jpg

STEP TWO: There are some great apps that will help you plan a garden and layout your space. I fiddled with those, but ultimately, I spent about an hour one night writing down everything that didn’t require acres to grow and that my family would eat. Then I added in some more things for fun. I briefly plotted out where I thought everything could go. Then I lost that paper. I worried for a second about if I had enough space for everything or if I had enough time to complete step six, but ordered the seeds anyway.

So, for 2014, we are planting:

HERBS: Basil, Cilantro, Mint, Oregano

FRUITS: Blueberry, Raspberry, Cantaloupe, Watermelon, Strawberry

VEGGIES: Broccoli, Carrots, Jalapenos, Corn, Cucumber, Lettuce, Spinach, Tomato, Zucchini, Bush Beans,

FOR FUN: Pumpkins, Dahlia, Sunflower

It didn’t seem so overwhelming at the time. Eek!

STEP THREE: While, this is a very important part of the process, it’s been cold up in these parts recently and this was not a fun step so I skipped it for now.

STEP FOUR: When I determined how many plants I would need and added it up, the cost was a little high for this hobby garden so we went with seeds. I’ve never grown anything from seed. Well, wait, we planted grass seed at a couple houses. And by we, I mean, he. I don’t think it went that well. We don’t have pets because it’s all we can do to keep three kids alive, but I somehow thought that planting 19 different varieties of seeds (the blueberries, raspberries and strawberries don’t come in seed form or are hard to grow in seed form or something like that. I ended up spending an arm and a leg and getting plants for these) would be a piece of cake.

I bought some of these planting cells and also this potmaker. The seeds and supplies all got here the other week and I started planting. I started with the planting cells first thinking, just add water right?! Well, in the end, all 4 that I puchased got planted nice and pretty, but it wasn’t so easy.

20140319-105638.jpg

The premise is that they have these little seed starting dirt pellets and you add warm water and the pellet expands and it’s a no mess, no fuss system. I employed my trust helper to add the water.20140319-105554.jpg

While she did a great job, some of the pellet’s didn’t expand and the ones that did had some issues too. We had to take them out of the tiny cells and manually break them up. I was too lazy to find real tools and since we were in the basement with the playroom, I just snagged some tools from the kids play kitchen.

20140319-105627.jpg

I FINALLY got all 4 trays planted over 4 nights and then realized that I still had 10 varieties of seed to plant. I couldn’t get to those because I had to now keep the seeds that I just planted alive!

Handy google told me that seeds need 2 things, warmth and water. So, I set up a little corner of my craft room with the trays and put christmas lights on top to provide the heat source. Apparently the christmas lights give off heat without being too much of a fire hazard or energy consumer. It really just confused my brain and I couldn’t figure out if it was almost Christmas or almost Spring.

20140319-105651.jpg

20140319-105700.jpg

I checked and misted them every day in between planting the next tray and on day 3, we got our first little sign of germination! Yay! I have a green thumb!

20140319-105719.jpg

Except I still have 10 varieties to plant and I’m out of the ‘time saving’ cells. Now, my other bright idea of using recycled newspaper to make pots with the above mentioned pot maker is all I have left.

It looks so easy in the picture:

PotMaker

I made 10 pots with it. It took 20 minutes. I need like 100 pots.

And my garden isn’t ready yet either and our weather is not cooperating to be outside to fix the garden. Did I mention that the pickets on the fence aren’t sourceable? That means that we’re going to have to hand cut 50 pickets out of lumber to match what’s already there. And then put up the rabbit fencing. And then till the soil.

Part two coming if I don’t bury myself in garden first.